- Phone: +86 132 8320 1810
- Email: annie@wrkgroup.ltd
-
- Afrikaans
- Albanian
- Amharic
- Arabic
- Armenian
- Azerbaijani
- Basque
- Belarusian
- Bengali
- Bosnian
- Bulgarian
- Catalan
- Cebuano
- China
- China (Taiwan)
- Corsican
- Croatian
- Czech
- Danish
- Dutch
- English
- Esperanto
- Estonian
- Finnish
- French
- Frisian
- Galician
- Georgian
- German
- Greek
- Gujarati
- Haitian Creole
- hausa
- hawaiian
- Hebrew
- Hindi
- Miao
- Indonesian
- Italian
- Japanese
- Javanese
- Malay
- Persian
- Portuguese
- Punjabi
- Russian
- Spanish
- Swahili
- Telugu
- Vietnamese

ਫਰ. . 14, 2025 19:49 Back To List
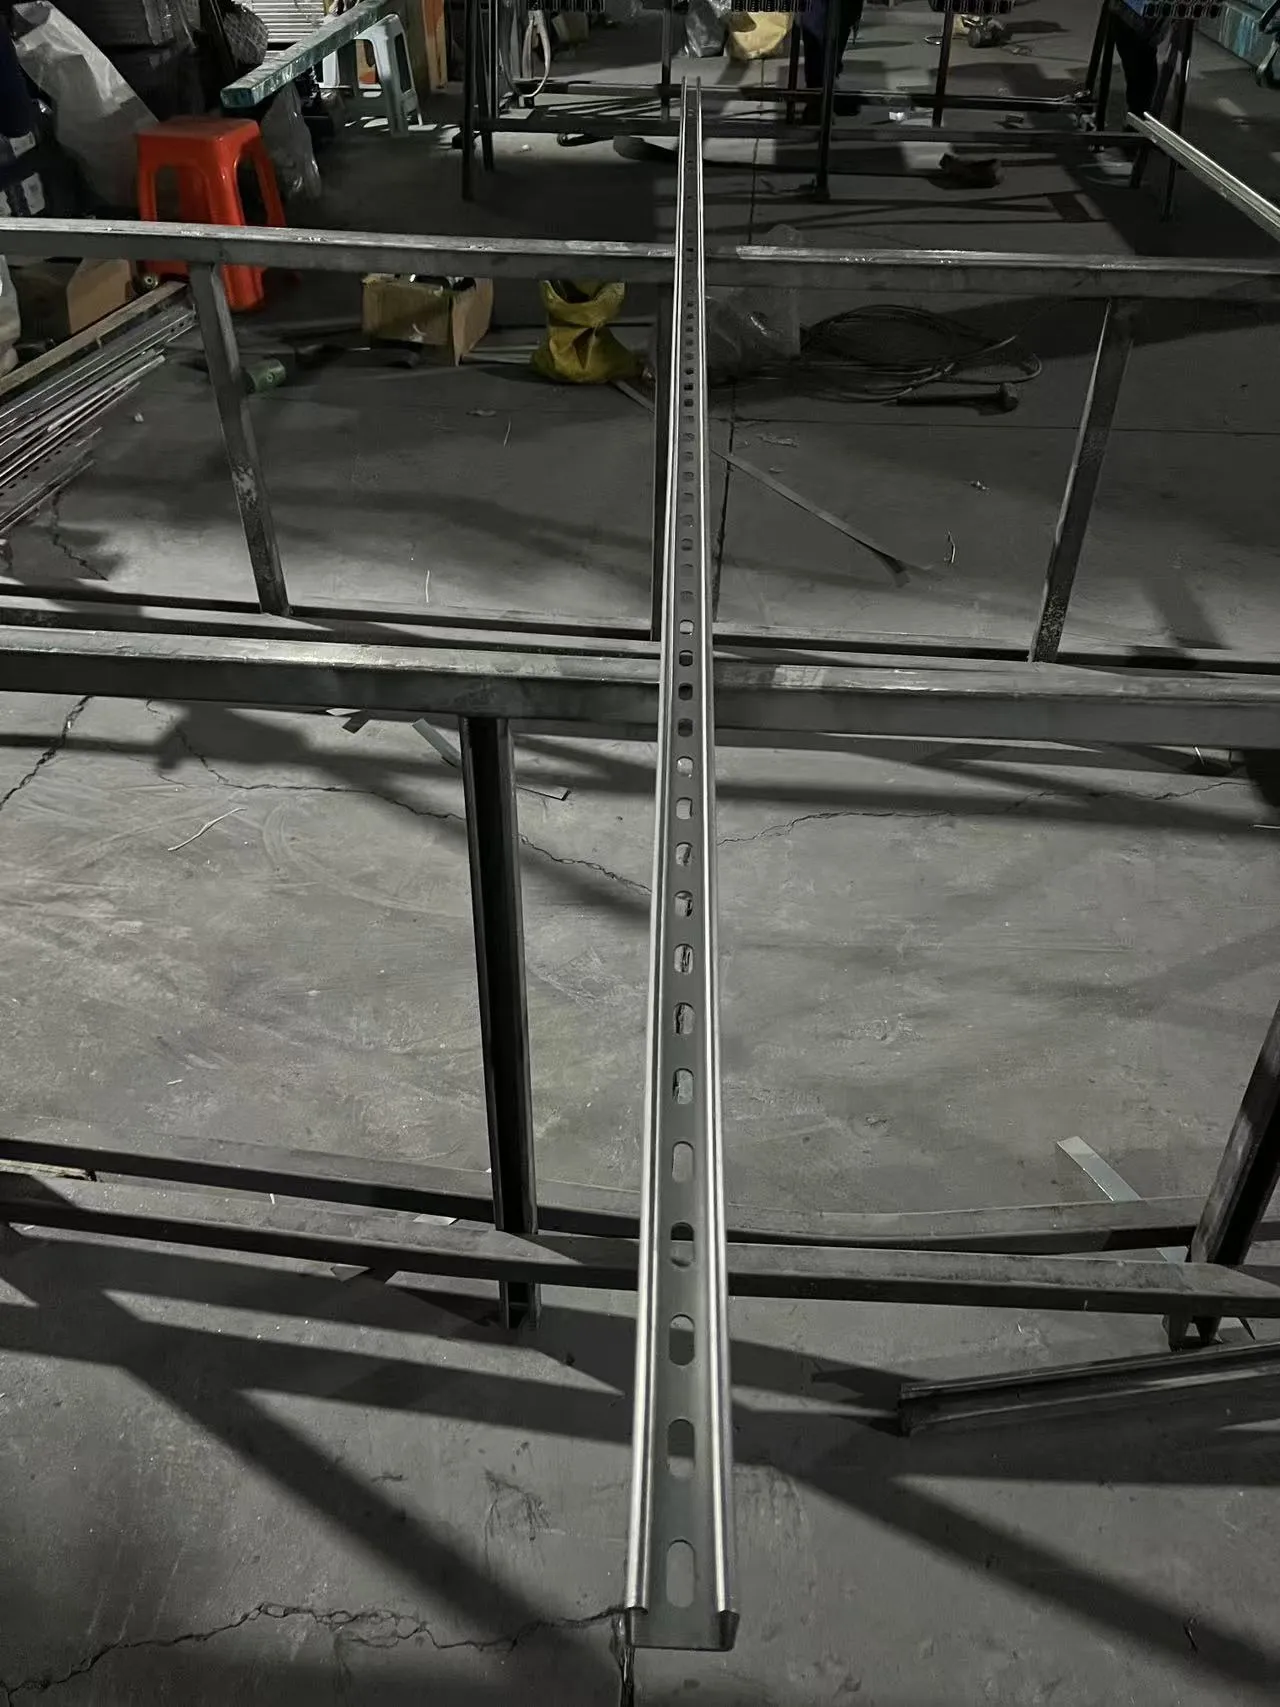
Push Pull Props
Creating a 4-way pressure clamp can elevate your woodworking projects to a professional level by offering enhanced stability and support during glue-ups. As an experienced DIY enthusiast and a seasoned carpenter, I've crafted numerous clamps over the years, and this guide synthesizes both expertise and practical insights, ensuring you can construct your very own 4-way pressure clamp with confidence.
For the pressure application, attach the rubber pads at each corner where the wood meets the workpiece. This not only protects your project's surfaces from damage but also enhances grip. Over the years, I've found that natural rubber offers the best combination of grip and resilience. Once assembled, it's time to test your DIY clamp. Place it around a test piece and tighten the wing nuts evenly. This even distribution of pressure is your clamp's main advantage and should be adjusted incrementally to prevent undue stress on any single point. If the clamp doesn't hold perfectly, recheck your threaded rods for alignment and ensure the bars are square. Building a 4-way pressure clamp allows for a tailored tool fitting your precise needs. This custom approach often surpasses generic store-bought alternatives, which may not provide the exact pressure dynamics required for specialized projects. Moreover, crafting your tools fosters a deeper understanding of their mechanics, enhancing your overall craftsmanship. Maintaining your clamp is equally important. Regularly check the tension on your threaded rods and clean the rubber pads to maintain their grip. Proper care will extend the lifespan of your DIY creation, making it a timeless addition to your woodworking toolkit. In conclusion, constructing a 4-way pressure clamp is not only a rewarding project but also an essential venture for any serious DIYer looking to enhance their woodworking quality. The precision and stability offered by this tool can transform the end results of your projects, embodying the principles of craftsmanship and expertise. Creating your own clamp also instills a greater sense of trust and reliability in your tools, knowing they've been built with care and precision to meet your specific needs.

For the pressure application, attach the rubber pads at each corner where the wood meets the workpiece. This not only protects your project's surfaces from damage but also enhances grip. Over the years, I've found that natural rubber offers the best combination of grip and resilience. Once assembled, it's time to test your DIY clamp. Place it around a test piece and tighten the wing nuts evenly. This even distribution of pressure is your clamp's main advantage and should be adjusted incrementally to prevent undue stress on any single point. If the clamp doesn't hold perfectly, recheck your threaded rods for alignment and ensure the bars are square. Building a 4-way pressure clamp allows for a tailored tool fitting your precise needs. This custom approach often surpasses generic store-bought alternatives, which may not provide the exact pressure dynamics required for specialized projects. Moreover, crafting your tools fosters a deeper understanding of their mechanics, enhancing your overall craftsmanship. Maintaining your clamp is equally important. Regularly check the tension on your threaded rods and clean the rubber pads to maintain their grip. Proper care will extend the lifespan of your DIY creation, making it a timeless addition to your woodworking toolkit. In conclusion, constructing a 4-way pressure clamp is not only a rewarding project but also an essential venture for any serious DIYer looking to enhance their woodworking quality. The precision and stability offered by this tool can transform the end results of your projects, embodying the principles of craftsmanship and expertise. Creating your own clamp also instills a greater sense of trust and reliability in your tools, knowing they've been built with care and precision to meet your specific needs.
Next:
Latest News
-
Formwork for In Situ Concrete | AI-Optimized SolutionsNewsAug.02,2025
-
Premium Screw Jacks Scaffolding Systems - Efficient Height ControlNewsAug.01,2025
-
Durable Concrete Form Ties Enhanced with AI | Buy OnlineNewsJul.31,2025
-
High-Quality Roofing Materials for Durable Building SolutionsNewsJul.30,2025
-
High-Quality Scaffolding Pins for Sale – Durable & Secure Scaffold Toggle PinsNewsJul.30,2025
-
High-Quality Scaffold Coupling Pins for Secure ConnectionsNewsJul.29,2025


